Best 3D Scanner for Automotive
and Aerospace Applications
Switch to landscape to see the whole table.
They Trust the Power of the PolyScan XL
Polyrix Customer Sample


Quality Control with Ease
Request a Simulation of your CAD to see how the PolyScan XL handles your largest parts with ease.
The next big thing in metrology
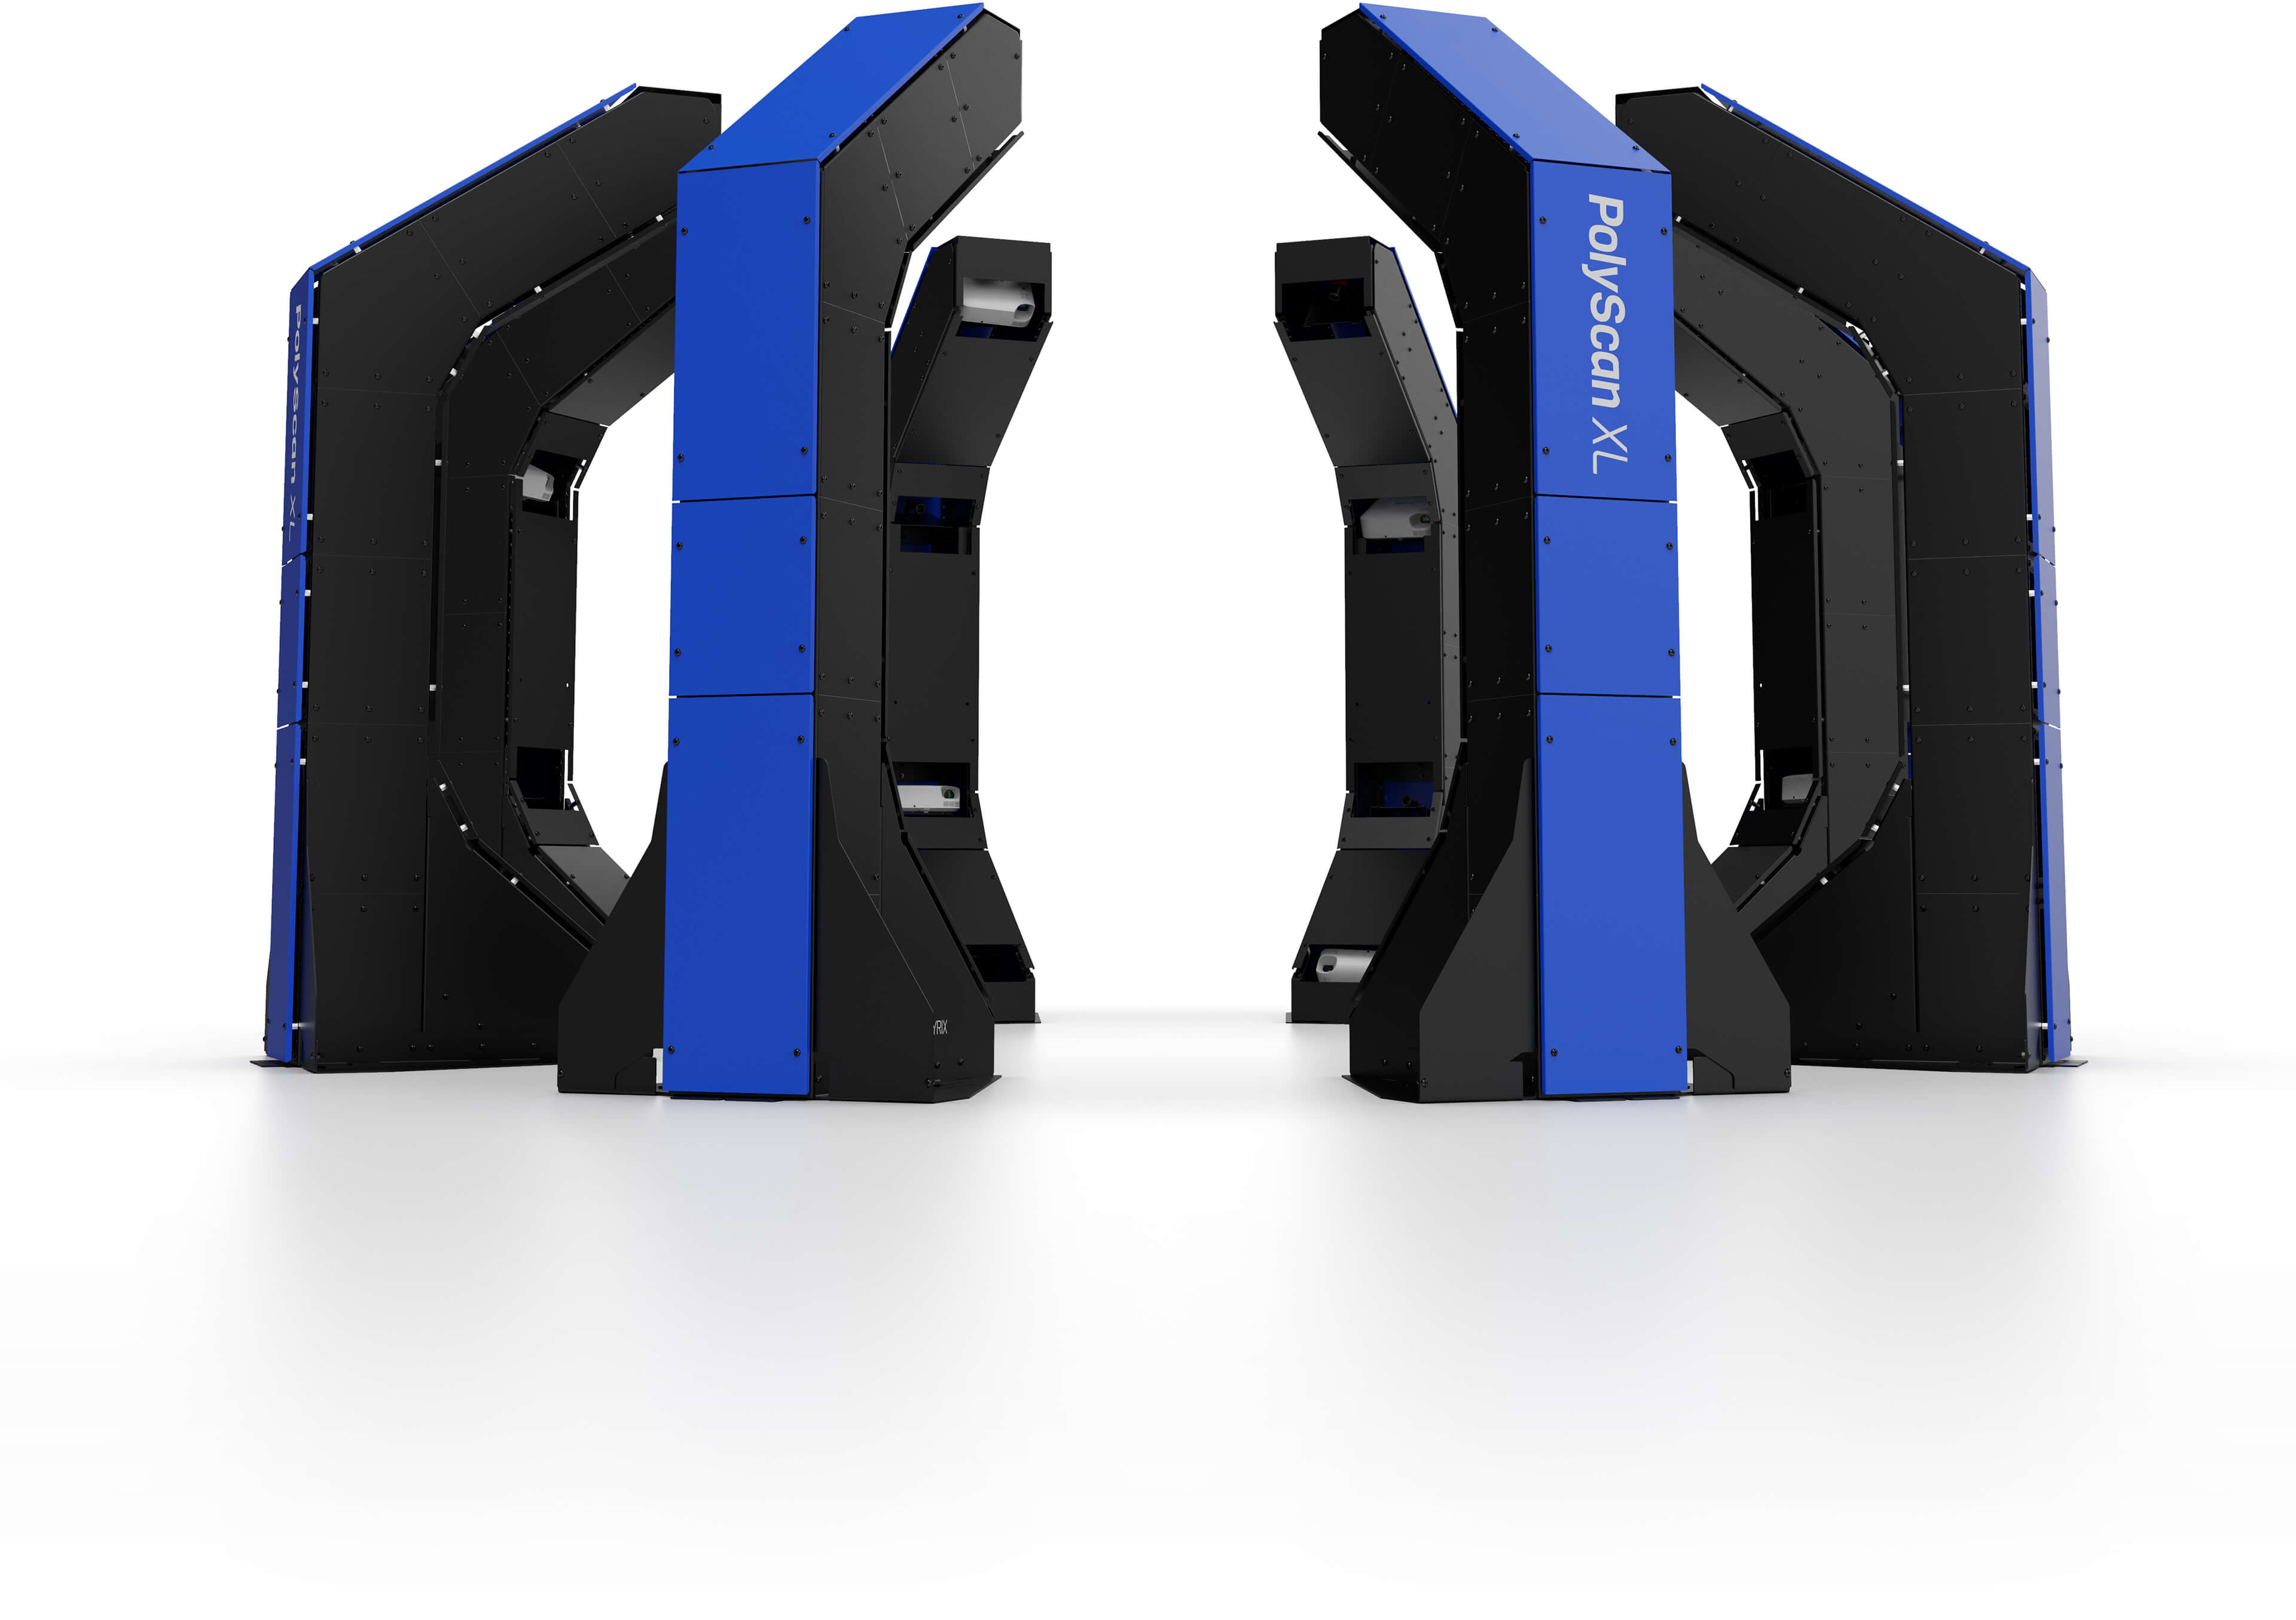
Coming in a configuration of 6 to 10 pillars, this system, ideal for 3D scanning for aerospace or for 3D scanner for automotive.
Typical scanning applications include everything from automotive body panels to large complex aerospace castings.
PolyScan XL FAQs (Frequently Asked Questions)
The PolyScan XL is purpose-built for large-volume scanning with a hemispherical field of view and static optics—meaning no moving parts. This enables fast, full-surface data capture of complex geometries without the need to reposition the part or the system.
The PolyScan XL delivers high-precision results that meet or exceed typical GD&T tolerances in the automotive and aerospace sectors. With our Calibration.Plus technology, you can expect volumetric accuracy up to ±0.025 mm. Without this upgrade, accuracy remains excellent at ±0.040 mm, depending on part size. Detailed metrology specs are available upon request.
The system performs best on matte or lightly textured surfaces. Thanks to its multiple angles of view, the PolyScan XL can scan nearly any material except transparent or mirrored surfaces. No part preparation is required due to our unique scanning approach.
With its static, multi-camera architecture, the PolyScan XL captures millions of data points in seconds—delivering unmatched speed for its scanning volume, without compromising precision.
Its rigid, vibration-resistant frame, stable lighting, and fixed sensor positioning maintain calibration across the entire scanning volume. This robust design eliminates drift and reduces the need for frequent recalibrations.
Yes, the PolyScan XL is well-suited for at-line and near-line inspection, and can be adapted for inline deployment—especially when used with technology module upgrades. Its hands-free operation, fast cycle time, and automation compatibility make it ideal for production environments.
Every system includes Polyrix Lab software to run the PolyScan. The output of the PolyScan XL is compatible with all data processing software on the market (sold separately). For example, a plugin for Innovmetric Inspector™ is available and included.
The scanner is built with a rugged frame and passive isolation to withstand typical shop-floor vibrations, ensuring reliable accuracy in real-world conditions.
Yes. Available options include custom mounts, automation cell integration kits, and extended scanning volumes. Our team can help configure a solution tailored to your application.
Submit a request through our contact form. Our team can use your CAD model to create a Simulation.Lab preview and, where possible, invite you to a demo center to see the PolyScan XL in action.
Industries like automotive, aerospace, heavy equipment, and energy benefit from the PolyScan XL’s large scanning volume, non-contact design, and rapid throughput.
No, it is built for production environments and performs reliably in typical factory conditions.
Unlike traditional CMMs, the PolyScan XL has no moving parts, offering faster data capture and lower maintenance. It captures complete surface data rather than discrete points.
Yes. On-site and remote training are included with every installation, and additional support packages are available to suit your needs.
Is your company interested to learn more about Surround 3D Scanning?
Polyrix would be glad to perform a free scanning demonstration with one of your part.
** Based on VDI/VDE 2634 part 2 third-party evaluation ISO 17025 accredited laboratory - NIST Traceability


